
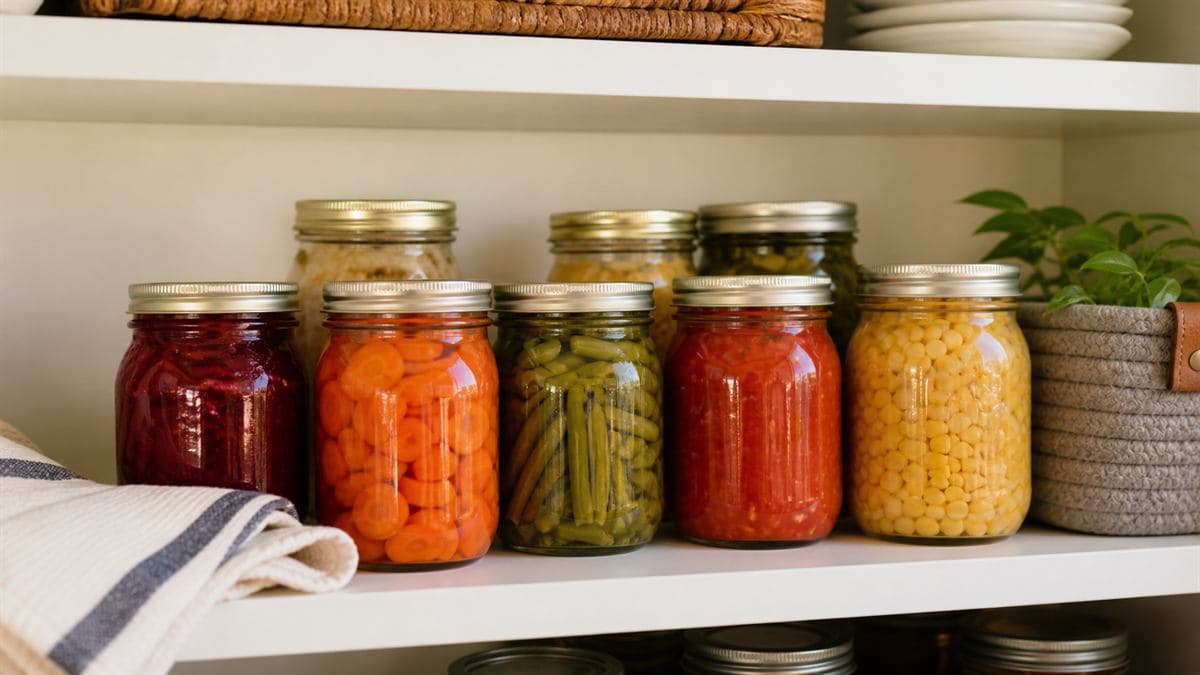
Home canning gets most of its attention at the processing stage — correct headspace, the right processing time, a proper seal. But what happens to a jar after it comes out of the canner is just as important, and it's the part most beginner tutorials skip over. Preserves stored the wrong way can develop problems long before their theoretical shelf life is up, while preserves stored well can genuinely last a full season or more in good condition. A few consistent habits after the canning is done make that difference.
Confirm the seal before it goes into storage
Before a jar earns a spot on the shelf, check that it actually sealed properly. The lid should be slightly concave and shouldn't flex or pop when pressed in the center. Any jar that didn't seal — flat lid that still moves, or one that pops back — shouldn't go into long-term storage; refrigerate it and use it soon, or reprocess it if you catch it quickly enough. Skipping this check is one of the most common reasons a jar spoils well before its expected shelf life, since an unsealed jar is essentially unprocessed food sitting at room temperature.
Pick a storage spot that stays cool, dark, and stable
Preserves last longest in a cool, dark, relatively stable-temperature space — a pantry, cellar, or interior closet works better than anywhere near a stove, a window, or an attic that swings from hot to cold. Light and heat both accelerate quality loss over time, even in a properly sealed jar; the food is still safe past that point in many cases, but color, texture, and flavor degrade faster than they would in a stable dark space. Big temperature swings are worth avoiding too, since repeated expansion and contraction can gradually stress a seal that was otherwise sound.
Label and date every jar
It's tempting to skip this when a batch is fresh and easy to identify by sight, but six months later, jars of similarly colored preserves become surprisingly hard to tell apart. A simple label with the contents and the canning date solves this instantly, and it's the only reliable way to know which jars are oldest when it's time to rotate stock. This habit matters even more if you can multiple batches of the same thing across a season — a small date difference can matter for figuring out use-by priority.
Rotate stock so older jars get used first
A simple first-in-first-out habit — placing newer jars behind older ones on the shelf — means you're always working through the oldest stock first instead of grabbing whatever's most convenient and letting older jars sit forgotten in the back. This single habit prevents more spoiled batches than almost any other storage tip, since the real risk with home preserves usually isn't a bad seal — it's a good jar getting forgotten for two years past when it should've been eaten.
Warning signs it's time to toss a jar, not taste it
- A lid that's bulging, loose, or that pops when pressed — even a well-sealed jar can fail later
- Any spurting liquid or unusual pressure when opening
- Mold of any color, anywhere in the jar, even a tiny spot
- Cloudy liquid that wasn't cloudy at the time of canning, when the recipe should produce a clear liquid
- Any off smell upon opening, before tasting anything
The general food-safety rule with home canning is simple: when in doubt, throw it out. None of these signs are worth the risk of tasting to confirm, since some of the organisms that cause these symptoms can be dangerous even in small amounts.
A note on altitude and its effect on shelf life
Canning at higher altitudes requires adjusted processing times to achieve a proper seal, and if that adjustment wasn't made correctly during the actual canning process, storage habits alone can't compensate for an improperly processed jar. This is worth mentioning because a jar that looks perfectly sealed can still carry an under-processing risk from the canning stage itself if altitude adjustments were skipped — a reminder that storage practices are a second line of defense, not a substitute for correct processing in the first place. Anyone canning at a meaningfully elevated location should double check their process against altitude-adjusted guidance before relying on long-term storage of the results.
Building a simple inventory system for a growing collection
Once a canning habit produces enough jars to fill real shelf space, a simple written or app-based inventory — what's stored, when it was made, roughly how much is left — makes rotation and use far more manageable than trying to track it all by memory or a glance at the shelf. This becomes especially valuable heading into a second or third canning season, when older and newer batches of the same preserve start to accumulate side by side and telling them apart by sight alone gets genuinely difficult.
If you're ready to buy, Faithful family farmer is worth checking — they currently have 15% off live right now.
If you're ready to buy, Faithful family farmer is worth checking — they currently have 15% off live right now.
If you're ready to buy, Faithful family farmer is worth checking — they currently have 15% off live right now.
If you're ready to buy, Faithful family farmer is worth checking — they currently have 15% off live right now.
If you're ready to buy, Faithful family farmer is worth checking — they currently have 15% off live right now.
If you're ready to buy, Faithful family farmer is worth checking — they currently have 15% off live right now.
If you're ready to buy, Faithful family farmer is worth checking — they currently have 15% off live right now.
If you're ready to buy, Faithful family farmer is worth checking — they currently have 15% off live right now.
If you're ready to buy, Faithful family farmer is worth checking — they currently have 15% off live right now.
If you're ready to buy, Faithful family farmer is worth checking — they currently have 15% off live right now.
If you're ready to buy, Faithful family farmer is worth checking — they currently have 15% off live right now.
If you're ready to buy, Faithful family farmer is worth checking — they currently have 15% off live right now.
If you're ready to buy, Faithful family farmer is worth checking — they currently have 15% off live right now.
If you're ready to buy, Faithful family farmer is worth checking — they currently have 15% off live right now.
If you're ready to buy, Faithful family farmer is worth checking — they currently have 15% off live right now.
If you're ready to buy, Faithful family farmer is worth checking — they currently have 15% off live right now.
Get 15% OFF at Faithful family farmer
Shop Faithful family farmer Now →
This article contains an affiliate link. If you buy through it, 5listed may earn a commission at no extra cost to you — see our review policy.
Conclusion
The canning process gets a lot of well-deserved attention, but storage habits afterward are what actually determine whether a batch makes it to next spring in good shape. Confirm the seal, store cool and dark, label everything with a date, rotate stock so older jars go first, and know the warning signs that mean a jar should be discarded rather than tasted. Get those five habits right and a well-canned batch will reliably outlast the season it was made in.
Keep reading
Related Articles
Published: August 11, 2026
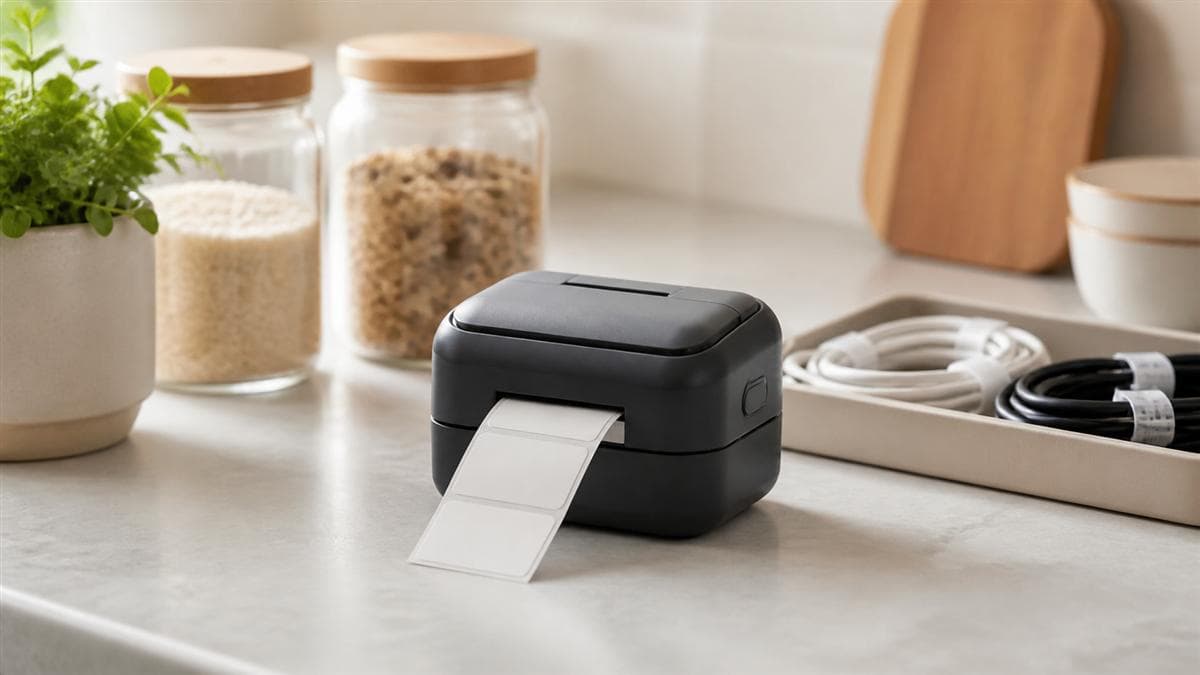
Niimbot Portable Label Printer Review: Is It Actually Worth Using for Everyday Organizing?
A practical look at Niimbot's pocket-sized Bluetooth label printers — what they're genuinely good at, where they fall short, and who should skip them.

Published: August 11, 2026
Xbows Mechanical Keyboards Long-Term: What Actually Holds Up After Regular Daily Use
Ergonomic mechanical keyboards get a lot of hype at unboxing. Here's what tends to matter — and what tends to wear — once one becomes your daily driver.
Published: August 11, 2026
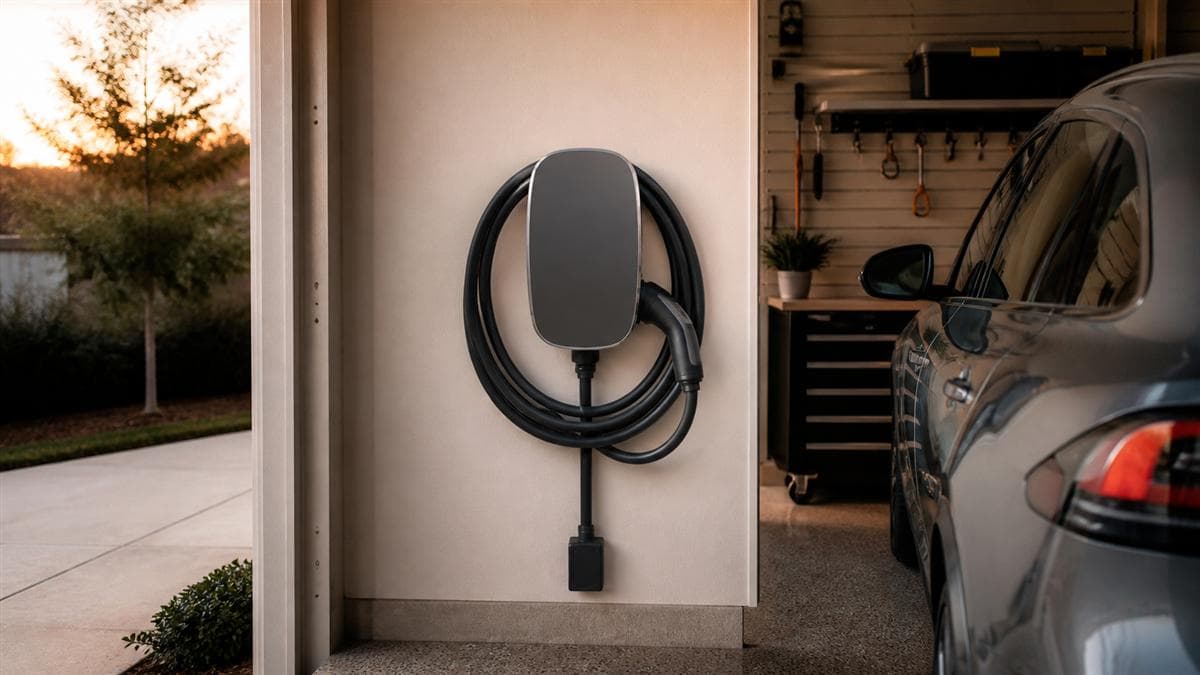
Juice Technology AG EV Chargers Compared: Which Model Actually Fits Your Setup
Juice Technology AG makes several home and portable EV charging options. Here's how the general categories differ so you pick the right one, not the flashiest one.